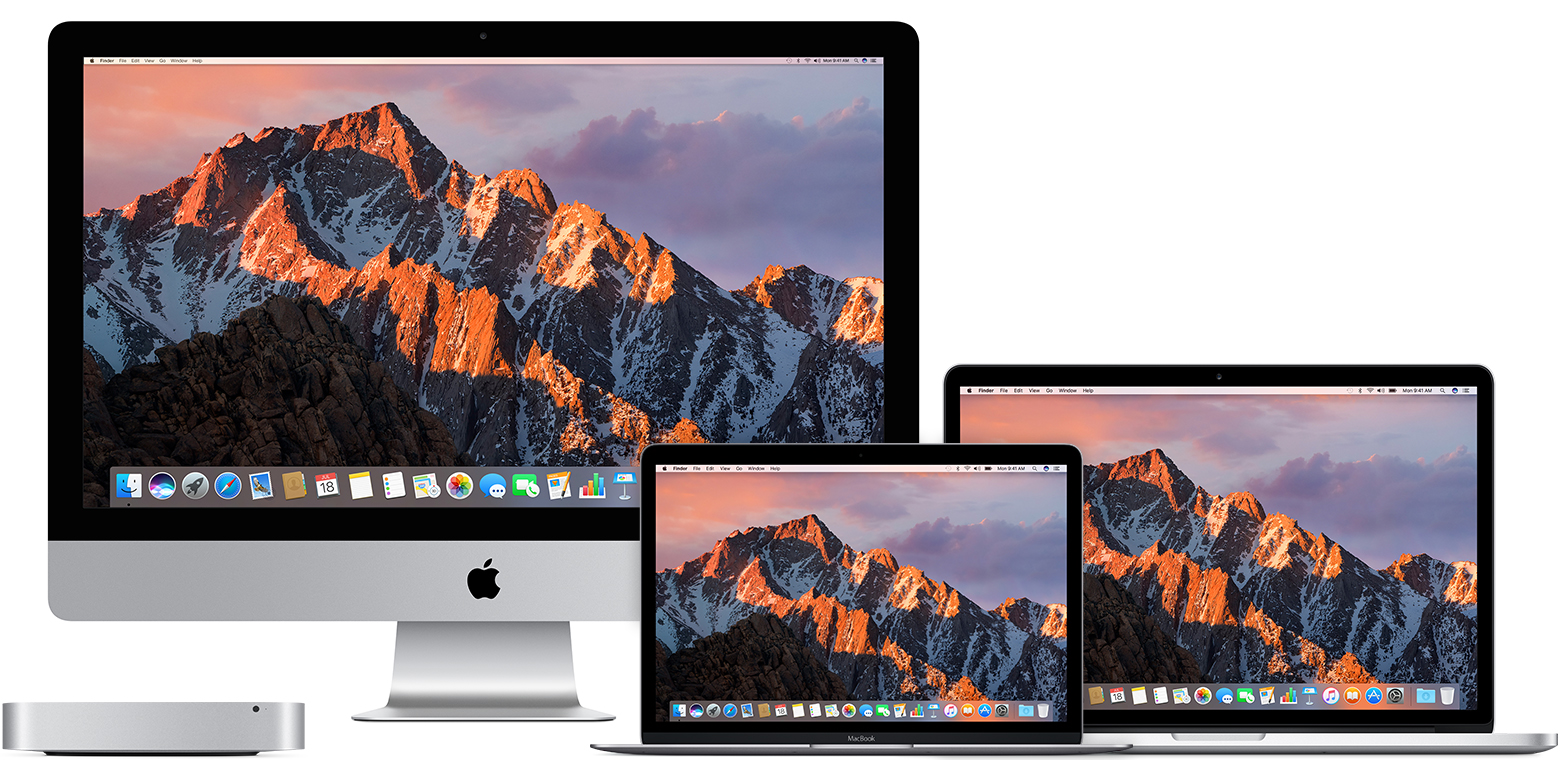


MacOS is one of the coolest looking operating systems out there right now, The only problem? the fact that this OS works only with Apple’s hardware on its MacBook and other Mac products.
One cannot install the OS, or buy it for a custom build. However, there is a way, where Windows users or causal PC building enthusiasts could get their hands on the forbidden OS, without paying a high premium for the Apple hardware.
Hackintosh is a custom PC build specifically made specifically for running MacOS and is made using hardware from a normal PC. We’ll be installing Apple’s latest MacOS Sierra, for this Hackintosh. The difficulty level for this guide is Expert.
Before you begin with Hackintosh, there are a few pre-requisites necessary to have a successful build and installation. These requisites include hardware recommendations as well as a few additional things necessary.
We’ll be using software by TonyMacX86 for creating our MacOS USB, and the only way you to get your hands on this software is by signing up at the website. So do that first. Let’s get started.
Hardware recommendation
- For a smooth running Hackintosh, a few checks in the hardware are necessary. For starters, We’d strongly recommend getting an Intel CPU, as AMD’s are not well supported with a Hackintosh.
- Also, make sure you have at least 8GB of RAM for a smooth user experience. For the processor, at least an Intel Core i3 3220T or higher along with a compatible motherboard with UEFI BIOS works great. Sadly there is no support for the latest 7th Generation Core processors and the 200 series chipset for now.
- A fresh SSD would do great for the build, so if you have a spare lying around, that should be your first choice. A clean 7200RPM HDD with at least 500GB of storage space should do the trick too.
- We’d strongly recommend you to get a secondary/ spare HDD for this build, and not the one you’ve used on your Windows or Linux build as you’ll be using the hard drive in a different format, which won’t be compatible with Windows OS or any other OS after that. Also, make sure you back up your data before proceeding with the Hackintosh.
- You can pair up an AMD or Nvidia GPU with your machine. AMD is supported by default, for a Nvidia GPU, you’ll need to install a driver later from here to run things smoothly.
- Once your hardware configuration is set, we’ll start with the actual Hackintosh preparation.
Prepping for Hackintosh
- Once you’ve got your hardware in place, we’ll proceed to the next step- Creating a Hackintosh Installation drive. For this step, we’ll need a working Mac machine running MacOS Sierra.
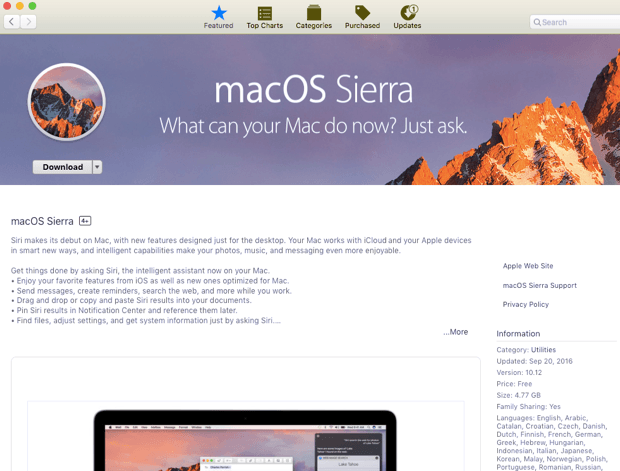
- Once you’ve found a machine with the latest OS version installed, head on to the app store and search for MacOS Sierra. Once you find it, download it onto the system. Just download it, don’t hit install when prompted.
- Now as I mentioned earlier, the tools necessary for making the build possible are available on the TonyMacX86 website. Assuming you’ve completed the sign-up procedure, download UniBeast 7.0.1. or higher for creating the bootable drive, and MultiBeast-which is necessary for the post-installation process, from the downloads section onto your Mac.
- Another thing that you’ll need is a fast USB 3.0 drive with at least 16GB of storage. The faster the drive, the faster the installation process.
- Once you’ve downloaded MacOS Sierra, it’ll appear in Applications. Now it’s time to create the drive. Insert the USB drive into the Mac and search for ‘Disk Utility’
- Upon opening Disk Utility, you’ll see the drive connected to the Mac. Look for your USB drive, and highlight it by clicking on it.
- Now hit the ‘Erase’ button from the top section. It’ll ask you for a name, add whatever you feel like. Next, it’ll prompt you to select a format, Choose OSX Extended (Journaled). For Scheme, choose GUID Partition Map, and click on Erase.

Installing using UniBeast
- Now open UniBeast. Once you’ve opened it, click on Continue, and agree to the terms and conditions.
- It’ll automatically detect your formatted USB drive. Once you’ve spotted your drive, click on it, and tap Continue.

- At the ‘Select OS Installation’ screen, select MacOS Sierra, and click on Continue.
- Now on Bootloader options, choose UEFI mode.

- At ‘Graphics Configuration Mode’ select the necessary option according to your hardware and click Continue.
- Verify the installation options and hit Continue. It’ll ask you to enter the password for the Mac machine. Enter the credentials and hit Install.

- UniBeast will now install the MacOS onto the USB drive and create a Bootable USB. Once the installation completes, close the box.
- Now, drag and drop the MultiBeast, that we downloaded along with UniBeast, onto the USB drive.
UEFI Configurations
UEFI is your motherboard’s operating system which helps it interact with the connected hardware and act accordingly. We need to tweak the UEFI a bit for a smooth installation process of the MacOS Sierra. You can enter the UEFI on the motherboard by hitting the ‘Del’ key or any other key as mentioned when you boot your system.
For ASUS UEFI custom settings, click here.
For Gigabyte UEFI custom settings, click here.
For MSI UEFI custom settings, click here.
- Load Optimised Defaults
- Disable VT-d, if enabled
- Disable CFG-Lock, if enabled
- Disable Secure Boot Mode, if enabled
- Set OS Type to Other OS
- If your system has IO SerialPort, disable it
- Set XHCI Handoff to Enabled
- Save and exit
Installing MacOS on HDD or SSD
- Once your system is prepped for installation, turn off your machine, and insert the USB drive, preferably on the USB ports at the back.
- Now turn on the system, and press the hotkey for booting into a drive. It’s usually F12, F11, F10 or F8. Look for the hotkey when your system boots up. It’ll flash along with the UEFI bios hotkey.
- Once you’re asked to select the drive to boot, click on the USB drive.
- Now you’ll be on the boot screen. Here, choose MacOS X from USB.
- Now you’ll be greeted by the MacOS installer. Choose your language.

- Now for a fresh installation, you’ll need to format your existing drive in order to make it compatible with the OS.
- In the top menu bar select Utilities, and open Disk Utility.
- Highlight your target drive for the Sierra installation in the left column.
- Click the Erase button.
- Add a name for the drive.
- Choose OS X Extended (Journaled) as the format.
- Choose GUID Partition Map for Scheme and Click Erase.
- Close Disk Utility
- When the installer asks you for a location to install, choose the recently created drive. Now the installation begins.
- Once the installation completes, the system will automatically reboot.
First time setup and MultiBeast
- Hurray! You’ve almost installed MacOS Sierra. Complete the first-boot process, by adding your Apple ID, setting time and date, keyboard choice etc.
- Next, we’ll add support for your existing hardware using MultiBeast. Open MultiBeast from the USB.

- Click on Quick Start. Now it’ll show you a bunch of audio and network hardware options. Select the appropriate hardware depending on your system.
- Click on Customise, then add GPU drivers. Select the necessary GPU drivers.
- Once done, hit Save. After saving, click on Build from the options on the top, and click on Install.
- Upon completion of installation, reboot the system and voila, your Hackintosh is ready to roll!

Building a Hackintosh used to be a painful task, however, with a new MacOS being unveiled every year, the process keeps on getting less tedious and convenient. Also, developers such as TonymacX86 have really simplified the process, by giving us great tools, and making it a really cool weekend project for PC enthusiasts as well as Mac aficionados.

0 Comments